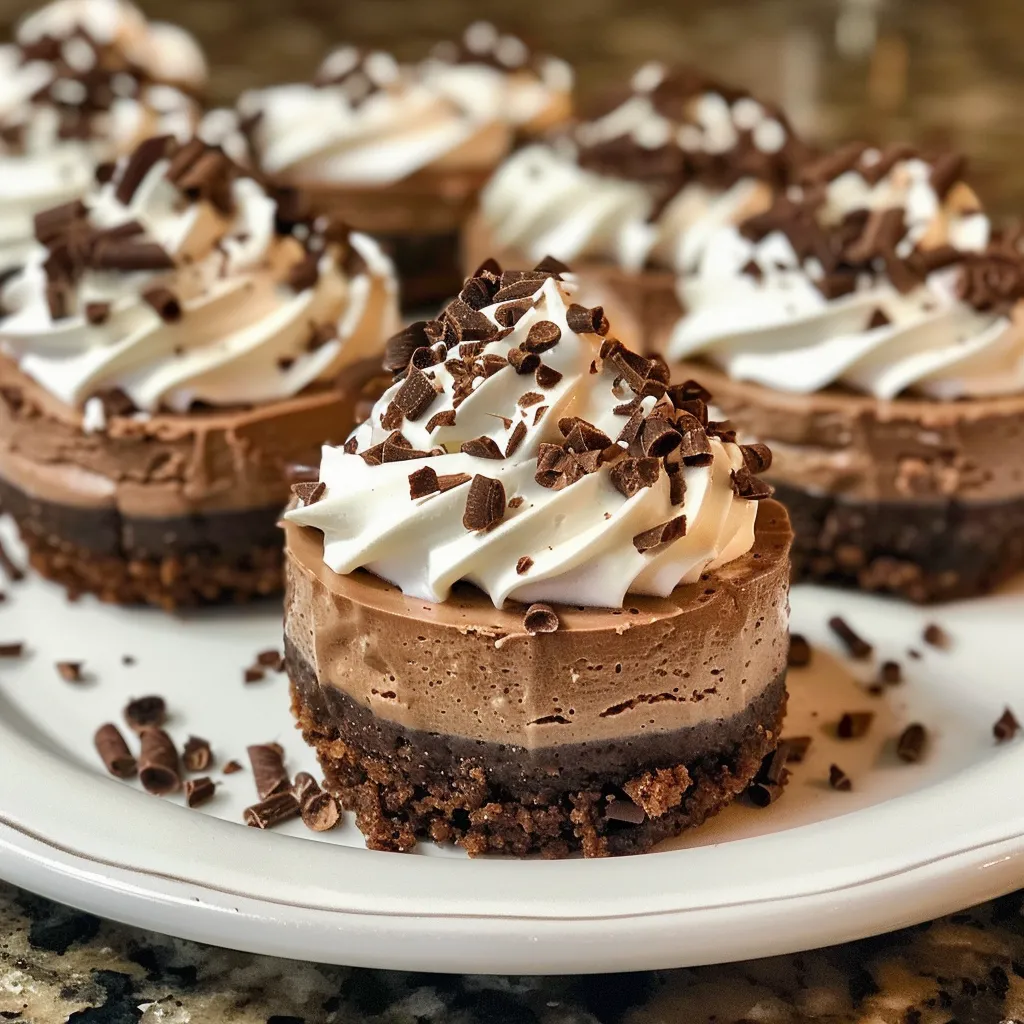
Indulge in Decadent No-Bake Mini Chocolate Cheesecakes
Welcome to a world where rich flavors meet effortless preparation! These no-bake mini chocolate cheesecakes are the perfect solution for anyone craving a delightful dessert without the fuss of baking. With just a handful of simple ingredients, you can whip up these delectable treats that are sure to impress your family and friends. Whether it’s a special occasion or a casual gathering, this recipe caters to all, making it a must-have in your dessert repertoire.
Why You’ll Love This Recipe
This recipe not only promises a mouthwatering experience but also offers numerous benefits:
- Effortless Preparation: With no baking required, you can create these mini cheesecakes in under an hour, allowing you to focus on enjoying your time with loved ones.
- Endless Customization: Feel free to experiment with different flavors and toppings to suit your taste or the occasion.
- Perfectly Portion-Controlled: Mini cheesecakes are ideal for serving at parties, ensuring everyone gets their own individual dessert.
- Rich and Creamy Texture: The combination of cream cheese and heavy cream creates a luxurious mouthfeel that melts in your mouth.
- Quick Chilling Time: These cheesecakes set quickly in the fridge, making them a great last-minute dessert option.
Detailed Ingredient Breakdown
Let’s dive deeper into the ingredients you’ll need to create these mini chocolate cheesecakes:
- 1.5 cups Chocolate cookie crumbs: This forms the base; feel free to substitute with graham cracker crumbs for a different flavor profile.
- 4 tablespoons Unsalted butter, melted: This binds the crumbs together, creating a cohesive crust.
- 8 ounces Cream cheese, softened: The star of the show, providing that signature creamy texture.
- 0.5 cups Powdered sugar: For sweetness without grittiness; can be adjusted based on your preference.
- 0.25 cups Cocoa powder: Enhances the rich chocolate flavor; consider dark cocoa for an intense taste.
- 1 cup Heavy cream: Adds lightness and helps achieve that fluffy texture.
- 1 teaspoon Vanilla extract: Elevates the overall flavor profile.
- Chocolate ganache or whipped cream (optional): Use as a luxurious topping for extra indulgence.
Step-by-Step Instructions
Follow these simple steps to make your no-bake mini chocolate cheesecakes:
- In a mixing bowl, combine the chocolate cookie crumbs and melted butter until the mixture resembles wet sand.
- Press the mixture firmly into the bottom of lined muffin tins or mini cheesecake pans to form a solid crust.
- In a separate bowl, beat the softened cream cheese until smooth, then gradually add the powdered sugar and cocoa powder, mixing until well combined.
- In another bowl, whip the heavy cream to soft peaks, then fold it gently into the cream cheese mixture until fully incorporated.
- Evenly distribute the cheesecake filling over the crusts and smooth the tops with a spatula.
- Cover with plastic wrap and refrigerate for at least 4 hours, or until set.
- Before serving, top with chocolate ganache or whipped cream if desired.
Pro Tips for Perfection
To ensure your cheesecakes turn out perfectly every time, consider these expert insights:
- Use Room Temperature Ingredients: Ensure your cream cheese is softened for a smoother mixture and easier incorporation.
- Chill the Bowl: For whipped cream, chill your mixing bowl beforehand to achieve better volume and stability.
- Don’t Overmix: When folding the whipped cream into the mixture, do so gently to maintain the light texture.
- Consider Miniature Serving Dishes: Using mini mason jars or silicone molds can add an attractive presentation.
- Flavor Variations: Experiment with different extracts like almond or peppermint for unique twists.
- Use Quality Chocolate: Opt for high-quality chocolate to enhance the overall flavor of your cheesecakes.
- Let Them Chill Longer: For firmer cheesecakes, allow them to set overnight.
- Top Creatively: Get creative with toppings like fresh berries, crushed nuts, or flavored syrups.
Common Mistakes and Troubleshooting
If you run into issues while making your cheesecakes, here are common pitfalls and how to avoid them:
- Crust Falling Apart: Ensure the cookie crumbs are well-coated with butter and pressed firmly into the pan.
- Filling Not Setting: Make sure to refrigerate for long enough; consider adding more heavy cream if it appears too thin.
- Bitter Taste: Always taste your filling as you go; adjust sweetness as needed.
- Over-whipped Cream: Stop whipping as soon as you see soft peaks to prevent a grainy texture.
Delicious Variations
Feel free to change things up with these tasty variations:
- Peanut Butter Swirl: Mix in 1/2 cup of peanut butter into the cheesecake filling for a delicious twist.
- Mint Chocolate: Add peppermint extract to the filling for a refreshing minty flavor.
- Fruit Topped: Top with fresh fruits like strawberries or raspberries for a fruity finish.
- Coconut Chocolate: Incorporate shredded coconut into the crust for a tropical flair.
Storage and Make-Ahead Instructions
These mini chocolate cheesecakes can be made ahead of time and stored in the fridge:
- Refrigeration: Keep them covered in the fridge for up to 5 days.
- Freezing: For longer storage, freeze the cheesecakes for up to 2 months. Thaw overnight in the fridge before serving.
Frequently Asked Questions
Here are some common questions about making no-bake mini chocolate cheesecakes:
- Can I use a store-bought crust? Yes, using a pre-made crust can save time.
- Can these be made dairy-free? Substitute cream cheese with a dairy-free alternative and use coconut cream in place of heavy cream.
- How do I know when the filling is set? The filling should be firm to the touch and not jiggle when shaken.
- Can I make these in advance? Absolutely! They actually taste better after chilling overnight.
- What if I want a different flavor? Feel free to infuse the filling with different extracts or mix-ins.
- Can I use milk chocolate instead of semi-sweet? Yes, but it may alter the sweetness, so adjust sugar accordingly.
- How do I serve these cheesecakes? They are best served chilled with your choice of toppings.
- What equipment do I need? You will need a mixing bowl, electric mixer, and muffin tins or mini cheesecake pans.
Nutritional Tips and Dietary Adaptations
To make these mini cheesecakes fit various dietary needs:
- Low-Sugar Option: Use sugar substitutes like stevia or erythritol in place of powdered sugar.
- Gluten-Free Version: Ensure your cookie crumbs are gluten-free or use gluten-free alternatives.
- Lower Fat Version: Substitute cream cheese with low-fat or Greek yogurt.
Serving Suggestions
These mini cheesecakes can be served in various delightful ways:
- Plated Dessert: Serve individually on plates with a drizzle of chocolate sauce.
- Party Platter: Arrange them on a dessert table for an eye-catching display.
- Garnished: Add fresh mint leaves or edible flowers for a beautiful touch.
In conclusion, these no-bake mini chocolate cheesecakes are a delightful treat that combines easy preparation with rich flavors. With the tips and variations provided, you can truly make this recipe your own. Enjoy impressing your guests and savoring each creamy bite!
No-Bake Mini Chocolate Cheesecakes
Ingredients
Crust
- 1.5 cups Chocolate cookie crumbs (For that perfect crust.)
- 4 tablespoons Unsalted butter (To bind the cookies together.)
Filling
- 8 ounces Cream cheese (The main ingredient that gives cheesecake its delightful creaminess.)
- 0.5 cups Powdered sugar (For sweetness without the graininess.)
- 0.25 cups Cocoa powder (Adding that rich chocolate flavor.)
- 1 cups Heavy cream (For the fluffy texture.)
- 1 teaspoon Vanilla extract (To enhance flavors.)
Optional Topping
- to taste Chocolate ganache or whipped cream (Optional, but oh-so-rewarding!)
Instructions
- Combine cookie crumbs and melted butter, then press into mini muffin tins to form crusts.
- Beat softened cream cheese, powdered sugar, and cocoa powder until smooth.
- Whip heavy cream and vanilla until stiff peaks form, then fold into the cream cheese mixture.
- Spoon the filling into crusts and chill for at least 2 hours.
- Top with chocolate ganache or whipped cream before serving, if desired.