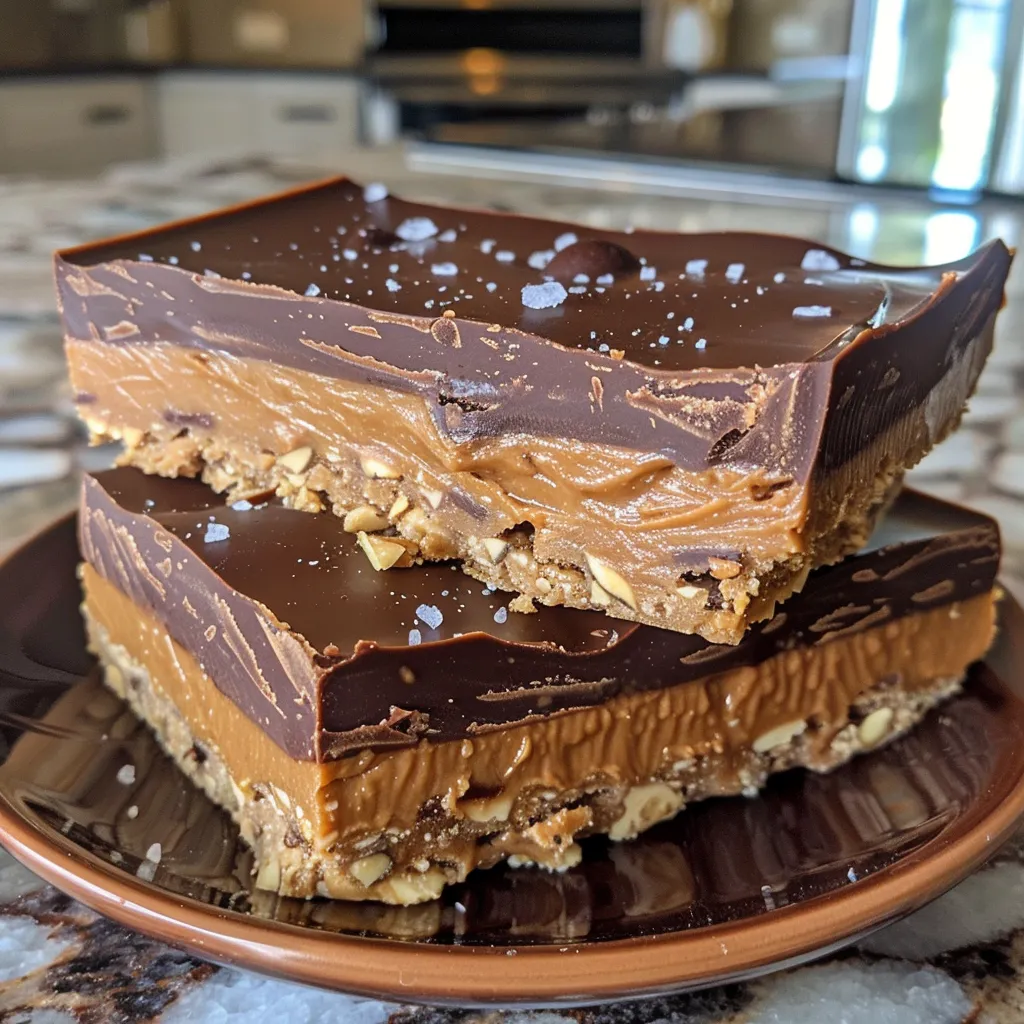
Unlock the Secrets to Effortless Indulgence: No-Bake Peanut Butter Cup Bars
Welcome to a world where indulgence meets simplicity! These No-Bake Peanut Butter Cup Bars are not just a treat; they are a solution for busy days when you crave something sweet yet easy to make. With just a handful of ingredients like creamy peanut butter, almond flour, and chocolate, you can whip up a delightful dessert that satisfies your sweet tooth without the fuss. Perfect for any occasion, these bars are designed to be enjoyed by everyone, whether you’re hosting a gathering or just treating yourself.
In this article, we will delve into the specifics of this recipe, exploring why you’ll love it, how to customize it, and tips to ensure your bars come out perfectly every time. So, let’s get started!
Why You’ll Love This Recipe
Here are five compelling reasons to love these No-Bake Peanut Butter Cup Bars:
- Effortless preparation: With no baking required, you can prepare these bars in just a few minutes, making them a perfect last-minute dessert option.
- Healthy indulgence: Made with wholesome ingredients, these bars offer a guilt-free way to satisfy your sweet cravings.
- Customizable flavors: Whether you prefer dark chocolate, milk chocolate, or even white chocolate, you can easily adapt this recipe to suit your taste.
- Minimal ingredients: With just a few pantry staples, you can create a delicious dessert without the need for complicated ingredients.
- Perfect for sharing: Cut these bars into bite-sized squares for a delightful treat to share at parties or gatherings.
Ingredient Breakdown
Understanding your ingredients is key to success in any recipe. Here’s a closer look at what you’ll need to make your No-Bake Peanut Butter Cup Bars:
- Creamy salted peanut butter: Aim for a drippy, natural peanut butter that ideally contains just peanuts and salt. This is the base of your bars, providing rich flavor and texture.
- Almond flour: A gluten-free alternative to regular flour, almond flour adds a delightful nuttiness to the bars. You can substitute it with oat flour or all-purpose flour if necessary.
- Maple syrup: This natural sweetener enhances the flavor while keeping the bars refined sugar-free. Honey or agave syrup can also work as substitutes.
- Sea salt: While optional, a touch of sea salt enhances the flavors, especially if you’re using unsalted peanut butter.
- Semi-sweet chocolate chips: The chocolate topping adds a decadent layer to your bars. Feel free to use dark chocolate for a richer flavor or milk chocolate for a sweeter taste.
- Coconut oil: This helps to smooth out the chocolate for easier pouring. If you’re looking for a dairy-free option, you can use cocoa butter instead.
- Flaky sea salt: A sprinkle on top adds an extra crunch and enhances the chocolate flavor.
Pro Tips for Perfect Bars


Here are some expert insights to ensure your No-Bake Peanut Butter Cup Bars turn out perfectly every time:
- Choose the right peanut butter: Opt for a creamy, drippy peanut butter for the best texture; avoid dry or overly chunky varieties.
- Measure accurately: Use measuring cups for precise ingredient measurements, especially for the peanut butter and almond flour.
- Soften ingredients: If your peanut butter is too hard, microwave it for a few seconds to soften it before mixing.
- Use parchment paper: Lining your loaf pan with parchment paper makes it easy to lift out the bars once set.
- Chill thoroughly: Allow the bars to chill in the freezer for at least 20 minutes to ensure the chocolate topping sets properly.
- Cut with care: Use a sharp knife to slice the bars for clean edges; a warm knife can help prevent sticking.
- Experiment with toppings: Try adding crushed nuts or coconut flakes on top for added texture and flavor.
- Storage matters: Keep your bars in an airtight container in the fridge for optimal freshness.
Common Mistakes and Troubleshooting
Even experienced cooks can run into challenges. Here’s how to avoid common pitfalls:
- Too crumbly? If your mixture is too dry, add a bit more peanut butter or a splash of milk to achieve a better consistency.
- Chocolate not melting? If your chocolate isn’t melting smoothly, try microwaving it in shorter intervals and stirring in between to prevent burning.
- Bars falling apart? Ensure you press the peanut butter base firmly into the pan to help the bars hold their shape.
- Not enough sweetness? Adjust the sweetness by adding more maple syrup, tasting as you go.
Variations to Try
If you want to mix things up, consider these variations:
- Nutty Delight: Add chopped nuts like almonds or walnuts to the peanut butter base for added crunch.
- Chocolate Mint: Incorporate a few drops of peppermint extract into the chocolate topping for a refreshing twist.
- Protein-Packed: Mix in protein powder into the peanut butter base for an added boost.
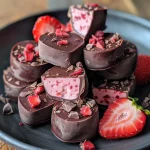
- Fruit Fusion: Layer sliced bananas or strawberries between the peanut butter base and chocolate topping for a fruity flavor.
Storage and Make-Ahead Instructions
These bars are perfect for meal prep and can be stored easily:
- Refrigeration: Store in an airtight container in the refrigerator for up to 1-2 weeks.
- Freezing: For longer storage, freeze the bars wrapped in parchment paper and placed in a freezer bag for up to 1 month.
- Thawing: When ready to enjoy, simply thaw in the fridge for a few hours before serving.
Frequently Asked Questions (FAQs)
Here are some common questions to help you on your baking journey:
- Can I use crunchy peanut butter? Yes, crunchy peanut butter can be used for added texture, but it may alter the consistency slightly.
- What can I substitute for almond flour? If you don’t have almond flour, use oat flour or all-purpose flour.
- How long do these bars last? They can last up to 1-2 weeks in the fridge and up to 1 month in the freezer.
- Can I use a different sweetener? Absolutely! Honey or agave syrup can be used instead of maple syrup.
- Is it necessary to add coconut oil? While it helps smooth the chocolate, you can omit it if desired.
- Can I make these bars vegan? Yes, just ensure to use vegan chocolate and maple syrup.
- Can I double the recipe? Yes, you can easily double the ingredients and use a larger pan.
- How do I know when the bars are set? They should be firm to the touch and the chocolate topping should be solid.
Nutritional Tips and Dietary Adaptations
These bars can be tailored to fit various dietary needs:
- Gluten-Free: Use almond flour or certified gluten-free oats for a gluten-free version.
- Low-Carb: Substitute sweeteners with erythritol or stevia for a low-carb option.
- Nut-Free: Replace peanut butter with sun butter or soy nut butter for a nut-free alternative.
Equipment Recommendations
Here’s what you’ll need to create these delicious bars:
- Loaf Pan: A standard-size loaf pan is ideal for shaping the bars.
- Microwave-Safe Bowl: For melting chocolate and mixing ingredients.
- Spatula: To mix and spread the peanut butter base evenly in the pan.
- Sharp Knife: For cutting the bars cleanly once set.
Serving Suggestions
Elevate your No-Bake Peanut Butter Cup Bars with these serving ideas:
- Garnish: Drizzle extra melted chocolate on top for an elegant finish.
- Pairing: Serve with a scoop of vanilla ice cream or Greek yogurt for a delightful dessert.
- Presentation: Arrange bars on a platter and sprinkle with crushed nuts for an attractive display.
Now that you’re equipped with everything you need, it’s time to get started! These No-Bake Peanut Butter Cup Bars are not only easy to make but also incredibly delicious. Enjoy the process and the results, and remember, cooking is about making memories. Thank you for sharing this delightful recipe with your loved ones. Happy cooking!
No-Bake Peanut Butter Cup Bars
Ingredients
Base
- 0.75 cup creamy salted peanut butter (drippy, natural, preferably just 2 ingredients: peanuts and salt)
- 0.5 cup almond flour
- 2 Tbsp maple syrup
- 0.25 tsp sea salt (optional, include for extra saltiness or if using unsalted peanut butter)
Chocolate Topping
- 0.5 cup semi-sweet chocolate chips or chunks
- 2 Tbsp creamy salted peanut butter
- 0.5 tsp coconut oil
Topping
- Flaky sea salt
Instructions
- Line a loaf pan with parchment paper and set aside.
- Mix peanut butter, almond flour, maple syrup, and optional sea salt in a bowl. Press into the prepared pan.
- Microwave chocolate chips until smooth, then stir in peanut butter and coconut oil. Pour over the peanut butter base and sprinkle with flaky sea salt.
- Freeze for about 20 minutes until set. Slice into 14 bars and enjoy.