

Welcome to your go-to guide for creating Oreo No-Bake Cheesecake Cups that are not only easy to prepare but also irresistibly delicious! This simple yet satisfying dessert combines rich cream cheese, fluffy Cool Whip, and crunchy Oreos, making it the perfect treat for any occasion. Whether you’re hosting a dinner party or simply satisfying a sweet tooth, these cheesecake cups deliver an indulgent experience without the hassle of baking. Dive in to discover how to make this recipe effortlessly while impressing your family and friends!
Why You’ll Love This Recipe
- Quick and Easy: With no baking required, you can whip these cheesecake cups together in under 30 minutes, perfect for busy schedules.
- Minimal Ingredients: This recipe uses just a handful of common ingredients, making it budget-friendly and accessible.
- Customizable: Feel free to experiment with different toppings and mix-ins, allowing you to personalize each cup to your taste.
- Perfect Portions: Individual servings mean no fuss over slicing, and everyone gets their own little dessert to enjoy.
- Make Ahead: These cheesecake cups can be prepared in advance, making them a great choice for parties or gatherings.
Detailed Ingredient Breakdown
Let’s dive into the ingredients required for these delightful cheesecake cups:
- 8 oz block of cream cheese: Make sure it’s softened to room temperature for easy mixing.
- 8 oz Cool Whip or whipped topping: This adds lightness and creaminess to the dessert. You can substitute with homemade whipped cream if preferred.
- 2 3/4 cups powdered sugar: This sweetens the cheesecake filling without the graininess of granulated sugar.
- 1 tsp vanilla extract: For added depth of flavor.
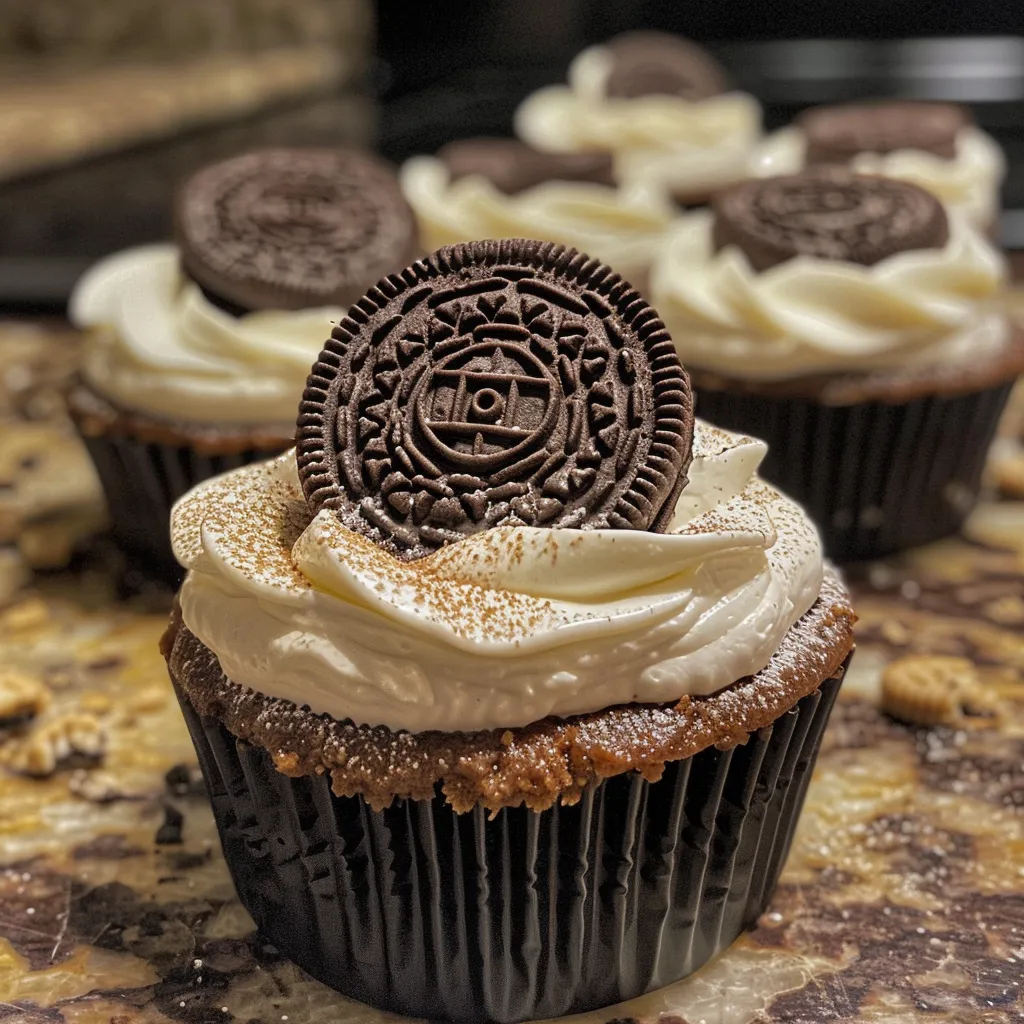
- 24-26 Oreo cookies: The star ingredient! Feel free to crush more for topping or adjust the quantity based on your serving size.
**Substitutions**: If you’re looking for alternatives, consider using Neufchâtel cheese instead of cream cheese for a lighter version, or opt for gluten-free Oreos to make this dessert gluten-free.
How to Make Oreo No-Bake Cheesecake Cups
Step-by-Step Instructions
Follow these simple steps to create your cheesecake cups:
- Place the Oreos in a plastic bag and seal. Using a rolling pin or a sturdy wooden spoon, crush the Oreos into fine crumbs.
- Spoon 1.5 to 2 tablespoons of the crushed Oreos into the bottom of six small dessert dishes (ensure they are at least 3/4 cup to 1 cup in size). Set aside.
- In a large mixing bowl, use a hand or stand mixer to whip the softened cream cheese and powdered sugar until creamy and smooth.
- Add in the vanilla extract and mix until fully incorporated.
- Gently fold in the Cool Whip until well combined, then fold in the remaining crushed Oreos.
- Divide the cheesecake filling evenly across the dishes, gently pressing it onto the crushed Oreos.
- Chill in the refrigerator for about 1 hour or until ready to serve.
- Before serving, top with additional whipped cream and crushed Oreos for an extra touch. Enjoy!
Pro Tips for Making No-Bake Cheesecake Cups
- Room Temperature Ingredients: Ensure cream cheese is at room temperature to avoid lumps in the filling.
- Chill Time: Don’t skip the chilling step! This helps the cheesecake set properly.
- Flavor Boost: Experiment with flavored extracts like almond or coconut for a unique twist.
- Presentation: Use clear cups or jars to showcase the layered beauty of your cheesecake cups.
- Double the Recipe: Planning for a crowd? Simply double the ingredients for larger gatherings.
- Storage: These cheesecake cups can be stored in an airtight container in the fridge for up to 3 days.
- Use Fresh Ingredients: For the best flavor, ensure your ingredients, especially the cream cheese, are fresh.
- Don’t Overmix: When folding in the whipped cream, be gentle to maintain the light texture.
Common Mistakes and Troubleshooting
Here are some common pitfalls and how to avoid them:
- Lumpy Filling: Ensure your cream cheese is fully softened and mix well before adding other ingredients.
- Too Sweet: Adjust powdered sugar based on your taste; you can always add more but can’t take it out once mixed.
- Oreo Crust Too Gritty: Crush Oreos finely to avoid a crunchy texture that doesn’t blend well with the cheesecake filling.
- Filling Too Runny: If your filling doesn’t set, ensure it’s chilled long enough and consider adding more cream cheese next time.
Delicious Variations
Want to mix things up? Here are some fun variations to try:
- Chocolate Lovers: Replace some of the Oreos with chocolate sandwich cookies for an extra chocolatey flavor.
- Fruit-Filled: Add a layer of your favorite fruit puree or fresh berries between the cheesecake layers.
- Nutty Crunch: Incorporate crushed nuts like pecans or almonds into the crust for added texture.
- Minty Fresh: Use mint Oreos instead of regular Oreos for a refreshing twist on the classic flavor.
Storage and Make-Ahead Instructions
These cheesecake cups can be prepared in advance, making them perfect for parties or gatherings. Here’s how to store them:
- Refrigerator: Keep the cheesecake cups covered in the fridge for up to 3 days.
- Freezer: You can freeze the cheesecake filling (without the toppings) for up to 2 months. Just thaw in the fridge overnight before serving.
- Make-Ahead: Assemble the cups a day in advance for best results, allowing the flavors to meld beautifully.
Frequently Asked Questions
Here are some common questions about making Oreo No-Bake Cheesecake Cups:
- Can I use low-fat cream cheese? Yes, low-fat cream cheese can be used, but it may alter the texture slightly.
- How long do these cheesecake cups need to chill? Chill for at least 1 hour, but overnight is best for optimal texture.
- Can I use a different cookie for the crust? Absolutely! Any cookie can work, such as graham crackers or chocolate cookies.
- What can I use instead of Cool Whip? Homemade whipped cream is a great substitute if you prefer a more natural option.
- How do I make these gluten-free? Use gluten-free Oreos and ensure all other ingredients are gluten-free as well.
- Can I add chocolate chips? Yes, fold in mini chocolate chips for added flavor and texture!
- What if I want to make a larger batch? Simply double or triple the recipe, adjusting the ingredient quantities accordingly.
- How do I store leftovers? Keep them covered in the refrigerator for up to 3 days or freeze for longer storage.
Nutritional Tips and Dietary Adaptations
Want to make these cheesecake cups a bit healthier? Consider these adaptations:
- Reduced Sugar: Use less powdered sugar or a sugar substitute to lower the sweetness.
- Dairy-Free Option: Substitute cream cheese with a dairy-free alternative and use coconut whipped cream.
- Lower-Calorie Version: Use light cream cheese and Cool Whip to cut down on calories without sacrificing flavor.
Equipment Recommendations
Here’s a quick list of equipment that will make your cheesecake cup-making experience smoother:
- Mixing Bowls: A set of various-sized mixing bowls for easy ingredient preparation.
- Hand Mixer: A hand mixer makes whipping cream cheese and Cool Whip a breeze.
- Plastic Bags: For crushing Oreos without the mess.
- Dessert Dishes or Cups: Choose clear cups for beautiful presentation.
Serving Suggestions
When it comes to serving your Oreo No-Bake Cheesecake Cups, consider these ideas:
- Garnishing: Top with fresh berries, chocolate shavings, or a drizzle of chocolate sauce for extra flair.
- Pairing: Serve with a side of fresh fruit or a scoop of ice cream for a complete dessert experience.
- Presentation: Use decorative spoons or mini dessert forks for a fancy touch at gatherings.
In conclusion, the Oreo No-Bake Cheesecake Cups are an effortless way to indulge your sweet cravings while impressing your guests. With its delightful combination of flavors and textures, this recipe is sure to become a favorite in your dessert repertoire. Happy cooking, and enjoy every creamy, crunchy, delightful bite!
Oreo No-Bake Cheesecake Cups
Ingredients
Crust and Filling
- 1 8 oz block of cream cheese (softened)
- 1 8 oz Cool Whip or whipped topping
- 2 3/4 cups powdered sugar
- 1 tsp vanilla
- 24-26 cookies Oreo cookies (more as desired)
Instructions
- Place Oreos in a plastic bag, crush them, and set aside 1 1/2 to 2 tablespoons for topping.
- Mix cream cheese and powdered sugar until smooth, then add vanilla and fold in Cool Whip and crushed Oreos.
- Divide the filling into small dishes over the crushed Oreos and chill for 1 hour.
- Top with whipped cream and remaining crushed Oreos before serving.