
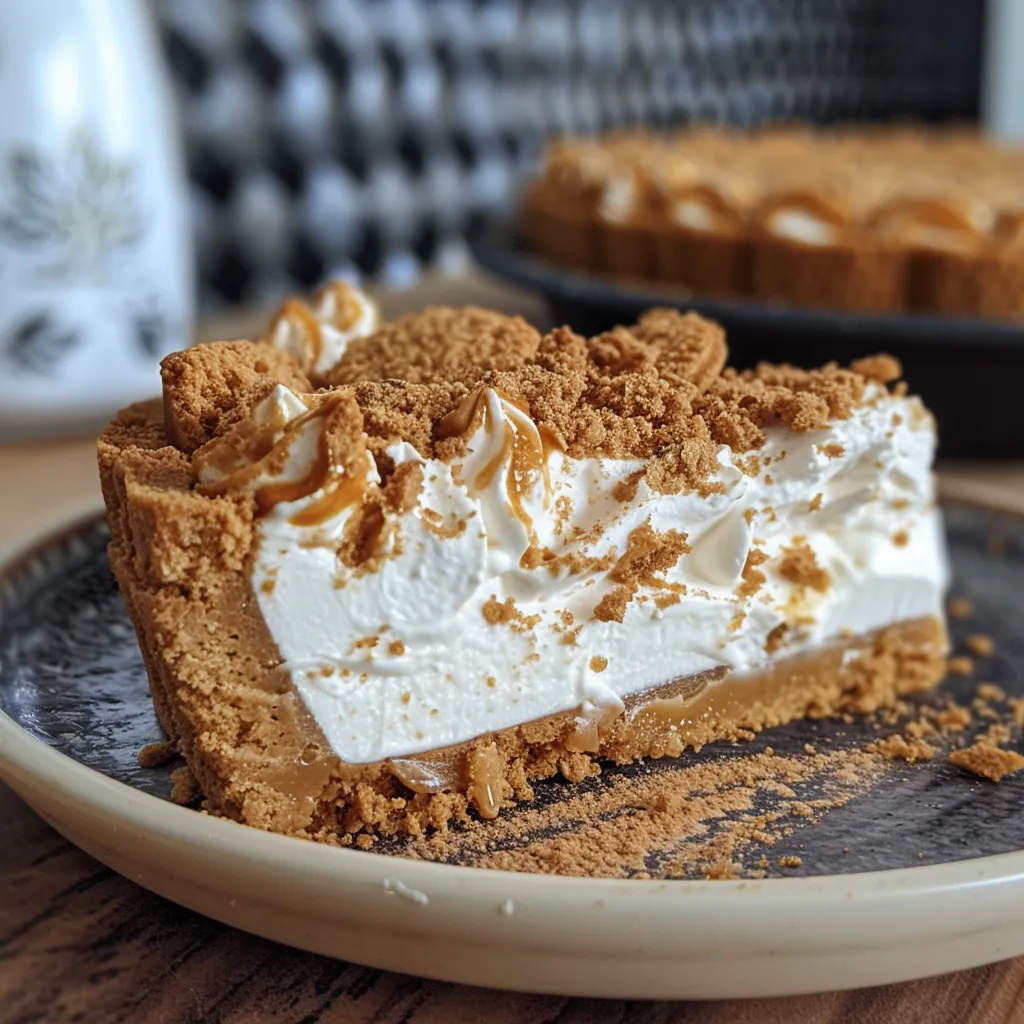
Indulge in the Ultimate No-Bake Lotus Biscoff Pie: A Sweet Delight
The quest for the perfect dessert often leads to the discovery of no-bake recipes that are not only simple but also incredibly satisfying. Our No-Bake Lotus Biscoff Pie is a stunning example of this—combining the luxurious flavors of Lotus Biscoff cookies with a creamy filling that will leave you and your guests wanting more. In this article, we’ll walk you through the entire process, including tips, variations, and everything you need to know to make this delightful dessert in less than an hour. Let’s dive into the world of no-bake indulgence!
Why You’ll Love This Recipe
This pie is not just another dessert; it’s a delightful experience that promises to impress. Here’s why:
- No Oven Required: Enjoy the ease of a no-bake recipe that saves you time and energy.
- Quick Prep Time: With a preparation time of just 20 minutes, you can whip this up in no time.
- Rich Flavor Profile: The combination of cream cheese and Lotus Biscoff spread creates a creamy, dreamy filling.
- Versatile Dessert: Perfect for any occasion—from casual dinners to fancy celebrations.
- Make-Ahead Friendly: Prepare this pie ahead of time and simply chill it in the refrigerator until serving.
Ingredients Breakdown
Here’s what you need to create this luscious no-bake pie:
- 200 g Lotus Biscoff biscuits: These crunchy cookies form the base of your pie.
- 100 g melted butter: This binds the cookie crumbs together for a sturdy crust.
- 200 g cream cheese: Use softened cream cheese for a smooth filling.
- 1 cup whipping cream (cold): Whipped cream adds lightness and texture to the pie.
- ½ cup powdered sugar: Sweetens the filling without adding graininess.
- ½ cup Lotus Biscoff spread: This creamy spread enhances the flavor and adds richness.
Preparation Steps
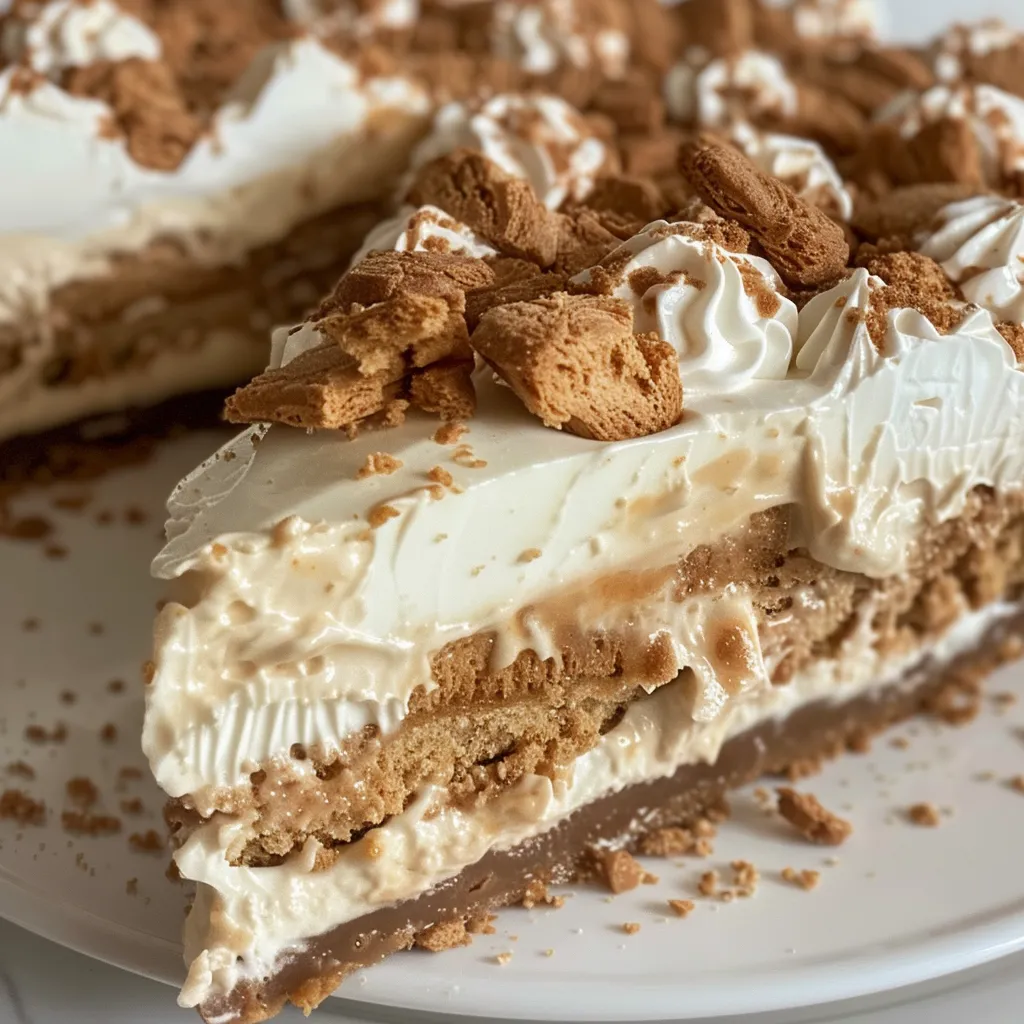
Follow these easy steps to create your No-Bake Lotus Biscoff Pie:
- Prepare the crust: In a mixing bowl, combine crushed Lotus Biscoff biscuits with melted butter. Mix until the crumbs are well-coated.
- Form the crust: Press the mixture into the bottom of a pie dish, ensuring it’s even and compact.
- Make the filling: In another bowl, beat the cream cheese until smooth. Gradually add the powdered sugar and Lotus Biscoff spread, mixing until fully combined.
- Whip the cream: In a separate bowl, whip the cold cream until stiff peaks form. Gently fold this into the cream cheese mixture.
- Assemble the pie: Pour the filling into the prepared crust and smooth the top with a spatula.
- Chill: Cover the pie with plastic wrap and refrigerate for at least 2 hours (or overnight) to set.
- Serve: Slice and serve chilled, optionally garnished with extra Biscoff spread or cookie crumbs.
Pro Tips for Success
Enhance your baking experience with these expert insights:
- Room Temperature Ingredients: Ensure your cream cheese is at room temperature for a smoother filling.
- Whipping Cream: Use heavy whipping cream for the best texture; it whips up fluffier.
- Chill Time: Allow enough time for the pie to chill properly—this is crucial for the filling to set.
- Crust Texture: For a crunchier crust, bake the crust at 350°F (175°C) for 10 minutes before adding the filling.
- Layering Flavors: Drizzle extra Biscoff spread on top before serving for a gourmet touch.
- Adjust Sweetness: Feel free to adjust the amount of powdered sugar based on your taste preference.
- Garnish Wisely: Top with whipped cream or crushed Biscoff cookies for added texture and visual appeal.
- Storage Tips: Keep leftovers covered in the refrigerator for up to 3 days.
Common Mistakes and Troubleshooting
Avoid these pitfalls for a flawless pie:
- Under-mixing the Filling: Ensure all ingredients are well combined to avoid a lumpy texture.
- Crust Falling Apart: Press the crust firmly into the dish to prevent it from crumbling when sliced.
- Too Soft Filling: If the filling is too soft, it may need more time to chill or additional cream cheese.
- Over-whipping Cream: Stop whipping once you reach stiff peaks; over-whipping can lead to a grainy texture.
Variations to Try
Experiment with these delicious variations:
- Chocolate Biscoff Pie: Add cocoa powder to the filling for a rich chocolate flavor.
- Fruit Topping: Layer fresh fruits like strawberries or blueberries on top for a refreshing twist.
- Nutty Crunch: Mix in chopped nuts or crushed pretzels for added crunch.
- Spiced Variation: Add a pinch of cinnamon or nutmeg to the filling for a warm spice flavor.
Storage and Make-Ahead Instructions
This pie is perfect for making ahead of time. Here’s how to store it:
- Wrap the pie tightly with plastic wrap or aluminum foil.
- Store in the refrigerator for up to 3 days or freeze for up to 2 months.
- If freezing, allow the pie to thaw in the refrigerator before serving.
Frequently Asked Questions
Here are answers to some common queries:
- Can I use a different type of cookie for the crust? Yes, graham crackers or digestive biscuits can be excellent substitutes.
- How do I know when the pie is set? The filling should be firm to the touch but still slightly jiggles when gently shaken.
- Can I use light cream cheese? Yes, but the texture and flavor may slightly differ.
- Is this pie suitable for vegans? You can use vegan cream cheese and whipping cream for a plant-based version.
- How can I make this gluten-free? Use gluten-free cookies for the crust to accommodate gluten restrictions.
- Can I add more sugar? Absolutely! Adjust to your taste preference, but be cautious to maintain the filling’s consistency.
- What is the best way to slice the pie? Use a sharp knife dipped in hot water for clean slices.
- How can I enhance the flavor? Consider adding a splash of vanilla extract to the filling for added depth.
Nutritional Tips and Dietary Adaptations
This pie can be adapted to fit various dietary needs:
- Lower Sugar Option: Substitute powdered sugar with a sugar alternative.
- Dairy-Free Version: Use dairy-free cream cheese and coconut whipped cream.
- Low-Carb Twist: Opt for low-carb cookies and sweeteners for a keto-friendly dessert.
- Protein Boost: Add protein powder to the filling for a nutritious kick.
Essential Equipment Recommendations
Make your baking experience seamless with the right tools:
- Mixing Bowls: A set of mixing bowls in various sizes is essential for prep.
- Electric Mixer: An electric mixer makes whipping cream and mixing the filling a breeze.
- Pie Dish: A standard pie dish or tart pan works perfectly for this recipe.
- Spatula: A silicone spatula is great for folding ingredients without deflating the whipped cream.
Serving Suggestions
Present your pie beautifully with these serving ideas:
- Garnish with Whipped Cream: Add a dollop of whipped cream on each slice for extra indulgence.
- Top with Crushed Biscoff Cookies: Sprinkle crushed cookies on top for a crunchy finish.
- Serve with Fresh Berries: A side of fresh berries adds a pop of color and flavor.
- Drizzle with Caramel Sauce: For an extra sweet touch, drizzle caramel sauce over each slice.
In conclusion, the No-Bake Lotus Biscoff Pie is a fantastic dessert that combines convenience with incredible flavor. Whether you’re a seasoned baker or a beginner, this pie is designed to impress with its simplicity and taste. Enjoy the process and the delicious results!
Easy No-Bake Lotus Biscoff Pie
Ingredients
Crust
- 200 g Lotus Biscoff biscuits
- 100 g melted butter
Filling
- 200 g cream cheese (room temperature)
- 1 cup whipping cream (cold)
- ½ cup powdered sugar
- ½ cup Lotus Biscoff
Instructions
- Crush the Biscoff biscuits and mix with melted butter to form the crust. Press into a pie dish and chill.
- In a bowl, beat the cream cheese until smooth. In a separate bowl, whip the cold cream with powdered sugar until stiff peaks form.
- Fold the whipped cream into the cream cheese, then add crushed Biscoff cookies and mix gently.
- Pour the filling into the prepared crust and smooth the top. Chill for at least 4 hours before serving.