Welcome to the world of effortless desserts! In this guide, we’ll be diving deep into the delightful universe of No Bake Crunch Bars. These bars are not only incredibly tasty but also come together in just a few simple steps, making them perfect for anyone with a busy schedule. With a combination of Rice Krispies, chocolate chips, and peanut butter, you’ll find that this recipe satisfies your sweet cravings without the fuss of baking. Let’s embark on this delicious journey!
Why You’ll Love This Recipe
- Quick and Easy: This no bake recipe takes only about 15 minutes of prep time, perfect for last-minute cravings or gatherings.
- Minimal Ingredients: With just five simple ingredients, you can whip these bars up without extensive shopping or complicated techniques.
- Customizable: Feel free to experiment with various add-ins and substitutions, making these bars uniquely yours!
- Perfect for All Occasions: Whether for a family treat, a kids’ party, or a quick snack, these bars fit the bill perfectly.
- Kid-Friendly Fun: Involve your little chefs in the kitchen! This is a fun recipe they can help with, making it a great bonding experience.
Ingredients Breakdown
Here’s what you’ll need to create these scrumptious homemade crunch bars:
- 3 cups Rice Krispies cereal (84 grams): This is the primary base, providing that satisfying crunch.
- 3 cups milk or semisweet chocolate chips (510 grams): The chocolate adds richness; feel free to use dark or white chocolate for a twist.
- 6 tablespoons unsalted butter (85 grams or ¾ stick): Butter helps bind the ingredients together and adds a rich flavor.
- ⅛ teaspoon kosher salt: A pinch of salt enhances the sweetness of the chocolate.
- Equipment: You’ll need an 8×8-inch baking pan and optionally a kitchen scale for precise measurements.
Step-by-Step Instructions
Follow these simple steps to make your no bake crunch bars:

★ Recommended Kitchen Tool
Digital Kitchen Scale
Make this recipe even easier with a quality Digital Kitchen Scale — a must-have kitchen staple!
- Line your 8×8-inch baking dish with parchment paper, ensuring the sides are lightly coated with nonstick butter spray to prevent sticking.
- In a large pan, melt the unsalted butter over medium heat. Once melted, add the chocolate chips and stir continuously until fully melted and combined.
- Remove the pan from heat and stir in the Rice Krispies cereal and kosher salt, ensuring everything is evenly coated.
- Transfer the mixture into the prepared pan, spreading it evenly across the surface.
- Allow the bars to cool and set for at least 1 hour before slicing and serving.
Pro Tips for the Best Crunch Bars
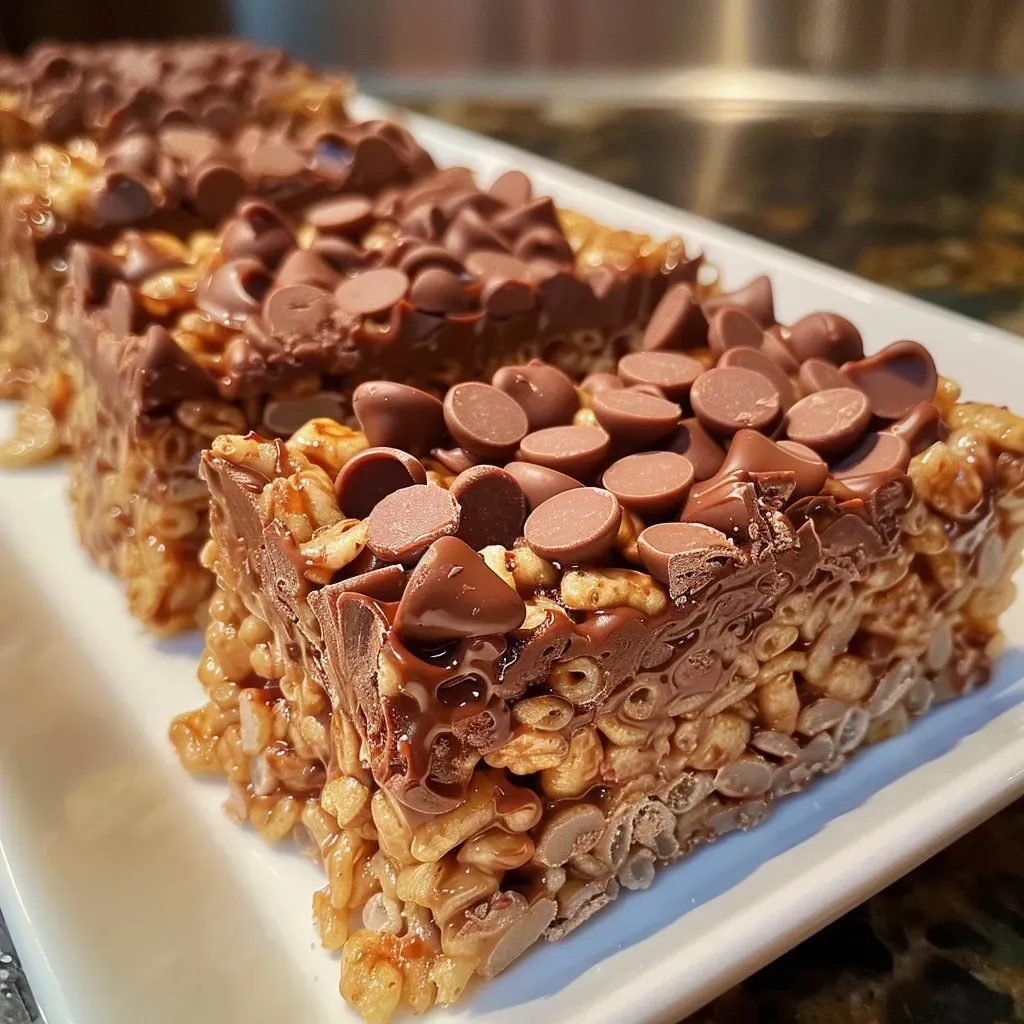
- Use Quality Chocolate: Opt for high-quality chocolate chips for richer flavor and smoother texture.
- Don’t Overheat the Chocolate: Keep the heat low to avoid burning the chocolate; stir continuously to ensure even melting.
- Press Firmly: When spreading the mixture into the pan, press down firmly to create a compact bar that will hold its shape.
- Chill for Longer: For a firmer texture, chill the bars in the refrigerator for a few hours before slicing.
- Add Extras: Consider adding nuts, dried fruits, or even a sprinkle of sea salt on top for a gourmet touch.
- Use a Sharp Knife: For clean cuts, use a sharp knife or even a pizza cutter when slicing the cooled bars.
- Store Properly: Keep in an airtight container to maintain freshness; they can last up to two weeks at room temperature.
- Experiment with Flavors: Try blending in different flavors like vanilla extract or almond extract for a unique twist.
Common Mistakes and Troubleshooting
Even simple recipes can have their pitfalls. Here are some common mistakes and how to avoid them:
- Too Dry or Crumbly: This can occur if you add too much cereal. Ensure precise measurements and mix well.
- Sticking to the Pan: If your bars stick, double-check that you used parchment paper and nonstick spray.
- Uneven Chocolate Mixture: Stir continuously while melting to ensure a smooth blend. If it thickens too quickly, lower the heat.
- Bars Falling Apart: If they’re too crumbly, try adding a bit more melted butter or chocolate to bind them better.
Delicious Variations to Try
Here are some exciting variations to keep your crunch bars fresh and interesting:
- Peanut Butter Crunch Bars: Add ½ cup of creamy peanut butter when melting the chocolate for a nutty flavor.
- Granola Crunch Bars: Substitute some of the Rice Krispies with your favorite granola for added texture and flavor.
- Chocolate Drizzle: Melt additional chocolate and drizzle over the cooled bars for a decorative touch.
- Nutty Delight: Fold in chopped nuts (like almonds or walnuts) for an extra crunch and nutrition boost.
Storage and Make-Ahead Instructions
These bars are perfect for make-ahead treats. Here’s how to store them:
- Room Temperature: Store in an airtight container at room temperature for up to two weeks.
- Refrigerator: For longer freshness, keep them in the fridge where they can last for up to three weeks.
- Freezing: You can freeze these bars for up to three months. Just wrap them tightly in plastic wrap and place them in a freezer bag.
- Thawing: To enjoy frozen bars, simply take them out of the freezer and let them thaw at room temperature for about 15 minutes.
Comprehensive FAQ
- Can I make these bars nut-free? Yes! Simply omit any nut ingredients and ensure that all other ingredients are nut-free.
- What type of chocolate chips should I use? You can use milk chocolate, dark chocolate, or even white chocolate according to your preference.
- Can I use puffed rice instead of Rice Krispies? Absolutely! Puffed rice will give a similar texture, though the flavor may differ slightly.
- How do I make them less sweet? Consider reducing the amount of chocolate chips or using a dark chocolate with a higher cocoa content.
- Do these bars hold up well at room temperature? Yes, these bars can be kept at room temperature, especially in cooler climates.
- How can I make these bars gluten-free? Ensure that the Rice Krispies and any other ingredients are labeled gluten-free.
- Can I add protein powder to these bars? Yes! Adding a scoop of protein powder can make them a great post-workout snack.
- What if my mixture is too sticky? If it’s too sticky, try adding a bit more Rice Krispies or chilling it in the fridge for a few minutes before pressing into the pan.
Nutrition Tips and Dietary Adaptations
These Crunch Bars can be adapted for various dietary needs:
- Vegan Option: Substitute butter with coconut oil and use dairy-free chocolate chips.
- Keto-Friendly: Use keto-friendly chocolate and a sugar substitute for a low-carb version.
- Protein Boost: Add a scoop of protein powder or use nut butter to increase protein content.
- Allergy-Friendly: Always check labels for allergens and use alternatives where necessary to accommodate various dietary restrictions.
Equipment Recommendations
Here are some essential tools to make your preparation smoother:
- 8×8-inch Baking Pan: A standard size that works perfectly for this recipe.
- Mixing Bowl: A large bowl for combining your ingredients.
- Spatula: Ideal for spreading and pressing the mixture into the pan.
- Microwave-Safe Bowl: If you prefer melting in the microwave instead of on the stove.
Serving Suggestions
These No Bake Crunch Bars can be enjoyed in various ways:
- With a Cup of Coffee: A perfect afternoon snack alongside your favorite brew.
- As a Post-Workout Snack: Packed with energy, they make a great reward after a workout.
- For Parties: Cut into bite-sized pieces for a fun dessert platter at gatherings.
- Gift Them: Wrap them in decorative packaging for a thoughtful homemade gift.
In conclusion, No Bake Crunch Bars are a versatile and delicious treat that can be made in no time. With simple ingredients and endless customization options, they are perfect for busy lives and satisfy any sweet tooth. Whether you’re enjoying them yourself or sharing with friends and family, these bars are sure to impress. Get in the kitchen, give this recipe a try, and indulge in the effortless joy of homemade crunch bars!
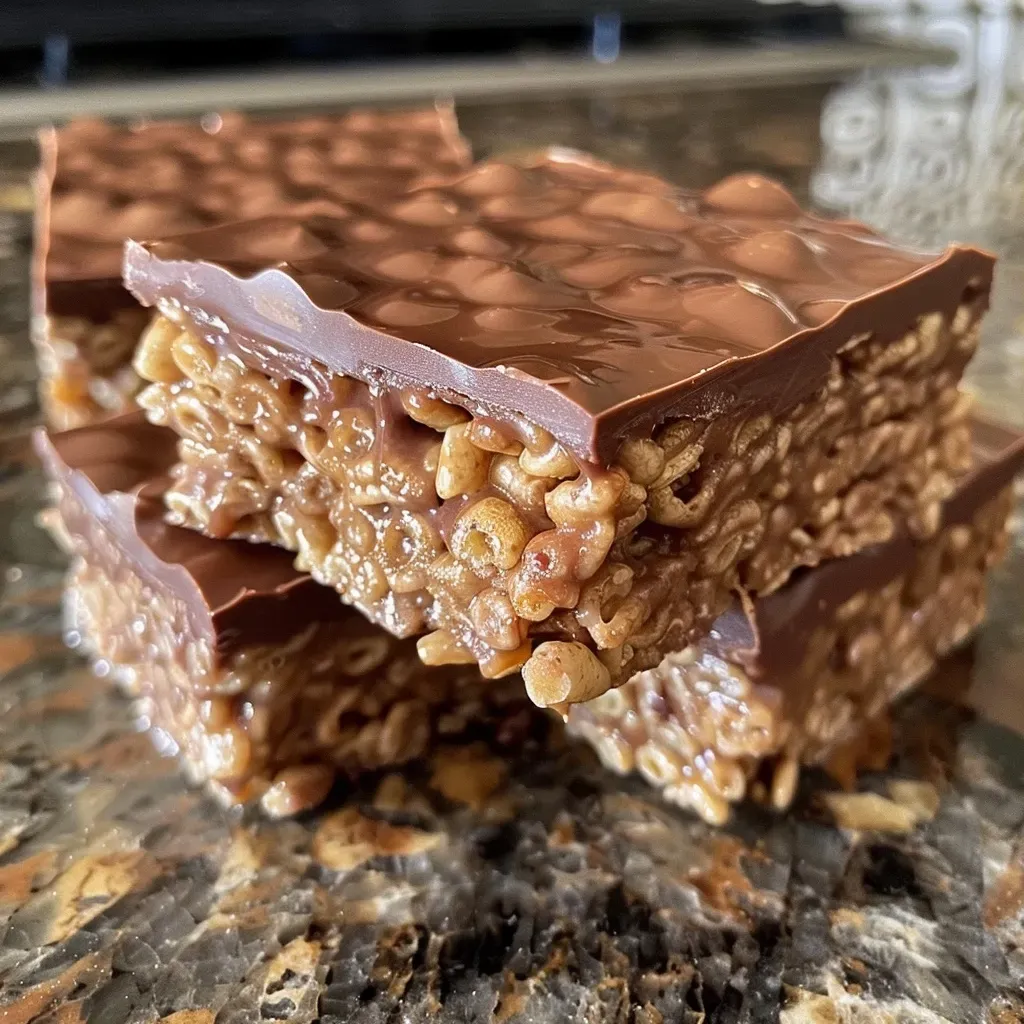
No Bake Homemade Crunch Bars Recipe
Ingredients
Main Ingredients
- 3 cups Rice Krispies cereal
- 3 cups milk or semisweet chocolate chips
- 6 tablespoons unsalted butter
- ⅛ teaspoon kosher salt
Equipment
- 1 piece 8×8-inch baking pan
- 1 piece Kitchen scale (optional)
Instructions
- Line an 8×8-inch pan with parchment paper and lightly coat with nonstick spray.
- Melt butter in a large pan over medium heat, then stir in chocolate chips until fully melted.
- Remove from heat, then mix in Rice Krispies and salt until combined.
- Spread mixture evenly into the prepared pan and press down gently.
- Let cool and set for at least 1 hour before slicing and serving.