Welcome to your ultimate guide for making a rich and creamy dairy-free rice pudding using your Instant Pot. If you want a dessert that’s not only delectable but also simple and quick to prepare, this recipe is for you. In just a few steps and with minimal ingredients, you can create an indulgent pudding that will delight your taste buds and impress your guests.
This recipe combines coconut milk, dairy-free milk, and arborio rice to create a velvety texture and rich flavor, making it the perfect treat for those following a dairy-free or vegan diet. Let’s dive into why this recipe is a must-try, along with essential tips, variations, and much more!
Why You’ll Love This Recipe
- Quick Preparation: Prepare a creamy rice pudding in just 15 minutes of cooking time with your Instant Pot, saving you time without sacrificing taste.
- Dairy-Free Delight: Enjoy a luscious dessert that’s completely free from dairy, perfect for those with lactose intolerance or anyone following a vegan lifestyle.
- Versatile Ingredients: This recipe can be customized to suit your preferences, allowing you to experiment with different dairy-free milk options and sweeteners.
- One-Pot Wonder: The Instant Pot makes cleanup a breeze, as everything is cooked in one container, minimizing the mess in your kitchen.
- Perfect for Meal Prep: Rice pudding stores well in the fridge, making it an excellent option for batch cooking and enjoying throughout the week.
Key Ingredients for Your Rice Pudding
Understanding the components of your dish is crucial for achieving the perfect rice pudding. Here’s a breakdown of the ingredients you’ll need along with potential substitutions:
- Coconut Milk (1 can, 14 oz): Provides a creamy base. For a lighter version, use light coconut milk or substitute with cashew cream.
- Dairy-Free Milk (1 ½ cups): I recommend soy, almond, or oat milk. Choose a plain, unsweetened variety to maintain the pudding’s flavor balance.
- Water (1 cup): Helps achieve the right consistency when combined with the milk.
- Sugar (¼ cup): Granulated sugar is traditional, but you can also use maple syrup or agave for a natural sweetener.
- Salt (pinch): Enhances the overall flavor; I suggest 1/8 tsp for the best results.
- Vanilla Extract (1 tsp): Adds a depth of flavor; feel free to use vanilla bean paste for a gourmet touch.
- Arborio Rice (1 cup, uncooked): The star of the dish! This short-grain rice is perfect for a creamy texture, but you could substitute with sushi rice if necessary.
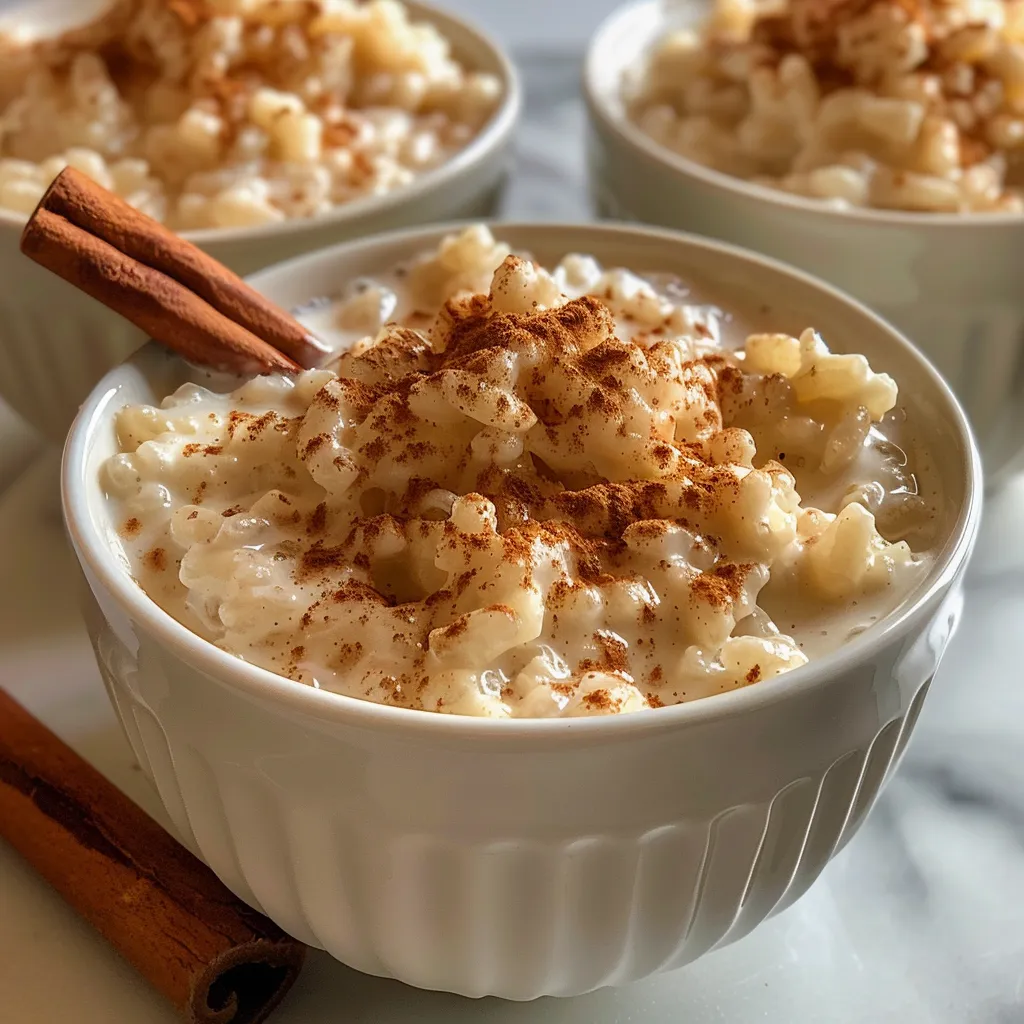
- Cinnamon Stick (1): Infuses the pudding with warm spice; you can also use ground cinnamon if preferred.
How to Make Rice Pudding in Your Instant Pot
Follow these simple steps to create your Instant Pot rice pudding:
- Shake the can of coconut milk well to combine before opening. Pour it into the Instant Pot.
- Add the dairy-free milk, water, sugar, and salt. Stir well to evenly dissolve the sugar.
- Incorporate the vanilla extract into the mixture.
- Rinse the arborio rice in a mesh strainer until the water runs clear, then add it to the milk mixture and stir to combine.
- Place the cinnamon stick on top of the rice pudding mixture.
- Seal the electric pressure cooker and cook for 3 minutes on high pressure.
- Once the cooking cycle ends, allow a natural release for 10 minutes, then turn off the pot.
- Release the remaining pressure carefully and open the Instant Pot. Remove the cinnamon stick and stir the rice pudding. The mixture may seem runny but will thicken as it cools.
- Serve warm or chilled, adding your favorite toppings before serving.
Pro Tips for Perfect Rice Pudding
- Rinse Your Rice: Always rinse arborio rice thoroughly to remove excess starch, ensuring a smoother pudding texture.
- Choose the Right Pot: Use a reliable Instant Pot to avoid cooking inconsistencies; ensure the sealing ring is properly placed.
- Don’t Rush the Release: Allow for a natural pressure release to achieve the best texture; this helps the pudding set perfectly.
- Adjust Sweetness: Taste before serving! Depending on your preference, you might want to add more sweetener after cooking.
- Add Toppings: Consider fresh fruits, nuts, or shredded coconut for extra texture and flavor.
- Experiment with Spices: Try adding a pinch of nutmeg or cardamom for a unique twist on flavor.
- Make Ahead: This pudding keeps well in the fridge for up to 5 days, making it ideal for meal prep.
- Reheat Gently: When reheating, add a splash of dairy-free milk to restore creaminess.
- Storage Tips: Store in an airtight container to maintain freshness and flavor.
Common Mistakes and Troubleshooting
Even with a simple recipe, mistakes can happen. Here are common pitfalls and how to avoid them:
- Too Runny: If your pudding is too watery, it may need more time to cool down—or you may not have used enough rice. Adjusting the cooking time slightly can help.
- Burning at the Bottom: Ensure your cooking pot is clean and that you’re not overfilling your Instant Pot beyond the recommended limit.
- Texture Issues: If the pudding is chunky or clumpy, it might be due to inadequate stirring or improper rinsing of the rice.
- Too Sweet or Not Sweet Enough: Always taste your pudding before serving and adjust sweetness accordingly.
Delicious Variations to Try
Feeling adventurous? Here are some delightful variations to elevate your rice pudding experience:
- Chocolate Rice Pudding: Add cocoa powder (2-3 tablespoons) to the mixture for a rich, chocolatey twist.
- Fruit-Infused Pudding: Incorporate fresh or dried fruits like raisins, berries, or mango into the mix for natural sweetness and added flavor.
- Nutty Delight: Stir in chopped nuts, such as almonds or pistachios, for a crunchy texture.
- Matcha Rice Pudding: Mix in 1-2 teaspoons of matcha powder for a vibrant, antioxidant-rich twist.
Storage and Make-Ahead Instructions
This pudding is excellent for make-ahead meals. Here’s how to store it:
- Allow the pudding to cool completely before transferring it to an airtight container.
- Store in the fridge for up to 5 days. If you want to freeze it, place it in a freezer-safe container, leaving some space for expansion.
- When ready to eat, thaw overnight in the fridge and reheat gently on the stovetop or in the microwave, adding a splash of dairy-free milk to restore its creaminess.
Frequently Asked Questions (FAQs)
- Can I use brown rice instead of arborio rice? Yes, but be aware that cooking times and liquid ratios may vary.
- What’s the best way to serve rice pudding? Serve warm or chilled, topped with cinnamon, nutmeg, or fresh fruits for added flavor.
- Is this recipe gluten-free? Absolutely! All ingredients used are naturally gluten-free.
- Can I use sweetened dairy-free milk? Yes, but adjust the amount of sugar in the recipe to avoid over-sweetening.
- What if I don’t have an Instant Pot? You can make this pudding on the stovetop as well; just simmer slowly until the rice is tender.
- How can I make this recipe sugar-free? Substitute sugar with your favorite sugar alternative, such as stevia or erythritol.
- Can I add spices to this pudding? Yes! Feel free to incorporate spices like nutmeg, ginger, or even cardamom for extra flavor.
- How can I make my pudding richer? Add more coconut milk or a splash of coconut cream for a decadent finish.
Nutrition Tips and Dietary Adaptations
This creamy rice pudding can be tailored to meet various dietary needs:
- Low-Calorie Option: Use unsweetened almond milk and reduce the sugar to cut calories.
- High-Protein Version: Add a scoop of protein powder or use soy milk, which is higher in protein than other dairy-free milks.
- Nut-Free Adaptation: Substitute almond milk with oat or rice milk to keep it nut-free.
Recommended Equipment
To make this recipe easier, here’s a list of recommended equipment:
- Instant Pot: A reliable electric pressure cooker is essential for this recipe.
- Mesh Strainer: For rinsing rice effectively.
- Airtight Containers: For storing leftovers or meal-prepping.
Serving Suggestions
Enhance your rice pudding with these serving suggestions:
- Top with Fresh Fruits: Berries, mango slices, or bananas add freshness and flavor.
- Sprinkle with Nuts: Chopped almonds or walnuts provide a nice crunch.
- Drizzle with Honey or Maple Syrup: For a touch of extra sweetness.
In conclusion, this effortless creamy dairy-free rice pudding is not just a recipe; it’s an experience filled with flavors, textures, and endless possibilities. Whether you enjoy it plain, with toppings, or as part of a larger dessert spread, it’s bound to become a favorite in your home. Happy cooking!
Creamy, Dairy-Free Instant Pot Rice Pudding
Ingredients
Coconut Milk
- 1 can 14 oz can coconut milk
- 1.5 cups dairy-free milk (soy, almond, or oat milk)
- 1 cup water
- 0.25 cup granulated sugar (organic preferred)
- 1/8 tsp salt (or 1/8 tsp)
- 1 tsp vanilla extract
- 1 cup uncooked arborio rice (or another short-grain rice)
- 1 stick cinnamon stick
Instructions
- Shake the coconut milk can well, then pour into the Instant Pot.
- Add the dairy-free milk, water, sugar, and salt. Stir to dissolve.
- Stir in vanilla extract and rinsed rice. Place the cinnamon stick on top.
- Seal the lid and cook on high pressure for 3 minutes. Let natural release for 10 minutes.
- Open the lid, remove cinnamon stick, and stir. Serve warm or chilled.